SINCE 1993 MADE IN USA
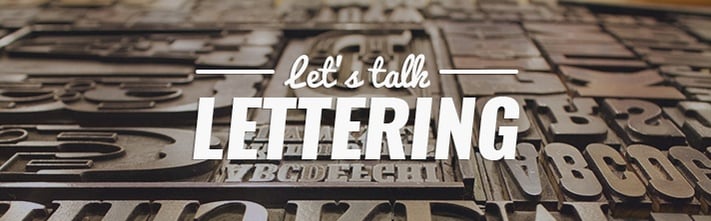
It is common to see lettering or logos on plastic injection molded parts. They may be added to the design for a number of reasons, including to:
- Identify the part
- Provide important instructions for end users
- Provide patent or other legal or regulatory information
- Display company branding
Lettering and logos are easy to incorporate into a mold, and doing so eliminates the time and expense of secondary steps like applying labels.
Lettering and Logo Options
When designing a part that will include lettering and/or a logo, you’ll need to decide whether these features should be recessed (i.e. sunken) or standoff (i.e. raised). Each style has its advantages and disadvantages. For example, depending on how a part is used, raised lettering would not hold up over time in a heavily abrasive application. On the other hand, a part with recessed features can gather dirt and debris.
Your decision on whether letters and logos are recessed or standoff will affect the mold as well. It is more common for features to be engraved into a mold, which results in them being raised on the part. When executed this way, the mold can be polished, which delivers a better surface finish on the completed parts. Molds with engraved features also last longer, as the features are not subject to wear.

Tips for Designing Molds with Lettering and Logos
Lettering and logos can have interruptions in the flow of material, which may cause imperfections like flow marks, tear drops, and streaks on the finished part. To avoid these kinds of problems, keep three tips in mind:
- Avoid sharp corners in your lettering. All corners should have a radius so that air does not become trapped in the mold causing defects.
- Be sure to draft your features. The sidewalls of all letters and logos should have a draft angle to ensure that the mold fills properly.
- Limit the height or depth of features to 0.010”. This should be sufficient to keep them from wearing away over the lifetime of the part. Greater height or depth may unnecessarily add to the cost of the part.
Changeable Configurations
If you have an engraved part that is used in a variety of finished products, your tooling could be created with separate, interchangeable engraving blocks. Your molder could swap out the engraving block based upon your configuration. Keep in mind that even the smallest border, commonly called a witness line, will show in your finished part around the engraving block perimeter. To address this, many designers make the engraving look deliberate by recessing the entire block very slightly into the plastic.
Providing Valuable Insight on Mold Design
Whether it’s letters, logos, or some other feature of a mold, knowing how it will affect both your finished part and your budget is key to executing a project effectively. The advice we’re happy to share with you is backed by more than 20 years of experience. Give us a call if we can be of service.